前日は雨、天候曇りで午前中少し路面温度低い20-23度(午前中)。
スピンしそうな路面温度。タイヤウォーマー使うが思ったよりうまくいかなかったりもする。特にF1は。
F1カテゴリー・・・ベストラップ方式(決勝スタート順を決める時にMS(ミリセコンド)の競争になるのだ。
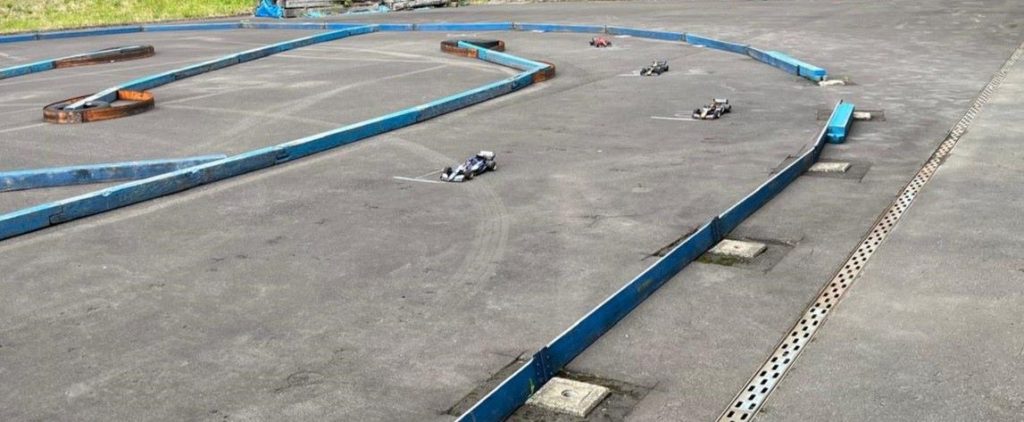
1番手(ポールポジション)レッドブルレーシング Xray x1 (2023・・シャーシ2枚目)
※20ms(0.02秒)差で Aメイン確定ならず。Bメインから勝ち上がり目指す
2番手(フロントロー)レッドブル Xray x1 (2023?)
3番手 レッドブル Xray x1 (2023)
※ 7ms(0.007秒)差で3列目となる。
4番手 フェラーリ(赤)TAMIYA TRF102
最終コーナー立ち上がり&直線からの第一コーナーまでうまくコントロールできるかどうか
https://youtu.be/vLBUWzaeAPA?si=CgzNzQGXpbaSL0g9
https://youtu.be/J516Ds_Vqvs?si=kk_15b_WTustxSuA
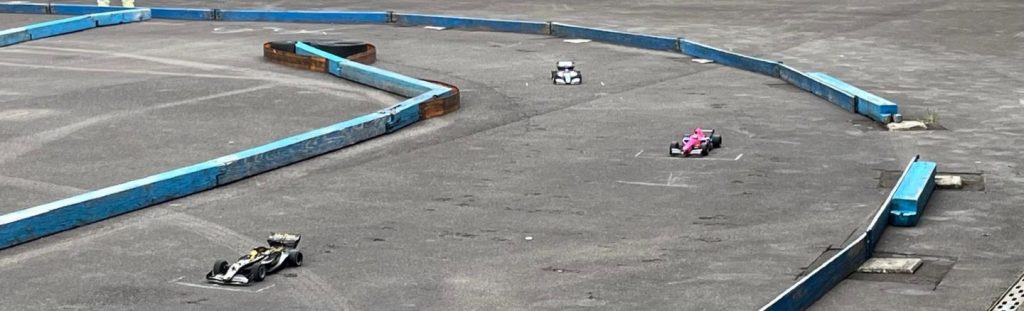
1番グリッド
ブラックロータス Xray x1 (2024?)2位と9ms(0.009秒)差で
「ポールポジション」
2番グリッド「フロントロー」TRF104
3位 Xray x1 (2023)(Bメインから勝ち上がり)
※みんなタイヤ違う。
本気出すって言ってたブラックロータス(空力特性良いらしい)がレースを支配
https://youtu.be/iETEhQr1enM?si=OI0FGh1Wv6EzmoIW
あれなんかスピード感足りない、4分過ぎるころ止まりそう。バッテリー交換するのを忘れたのだ。電欠(電池カラ)はヤバイ。急いで充電しないとLIFEバッテリーダメになるのだ。
・圧巻。https://youtu.be/5ZBbFPudZ5c?si=qk0g6FdSVeNQ0A0p
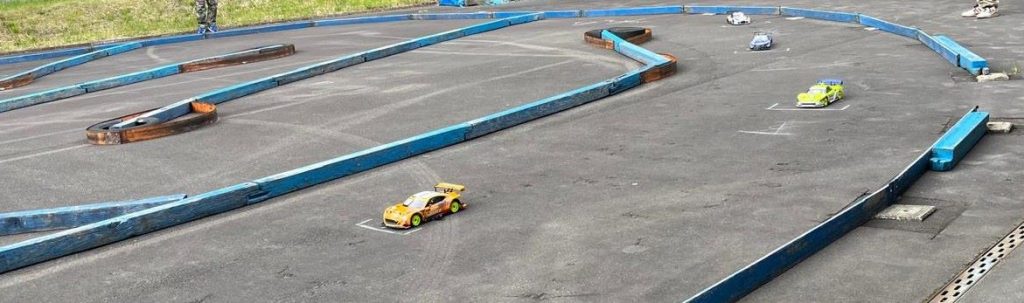
TS決勝Bメイン・・・ タイヤは予選決勝すべて28X。
XRAY T4-mid(zerotibe・オレンジの頃をMIDにしたヤツ、そのアルミシャーシ仕様(手持ちのT4ー2021 カーボンシャーシより気のせいか良い感じ、気のせい? メカのおかげ? 現行モデル のホビーウイングG4R、13.5TとESCは160A XERUN XR10 PRO G3 搭載 )
成績よくないのでスルーしたいところなのだが、 まぁまぁ走ったので。
先月1戦目17.5T、今回、2戦目からモータは13.5Tにしたら全然走りやすくなった。17,5Tのターボ&ブーストは低速区間(コーナーからコーナー)のツキが悪かったがフィーリングup。走りやすくなった。(みんなこんな状態で走らせてたのかと気づく。 13.5Tが楽なんだw)
フロントロー XRAY T4 2021 ?
3番手 XRAY T4-mid(Zerotibe アルミシャーシ仕様)
4番手 タミヤ TA07-MSX(アルミシャーシ仕様 )
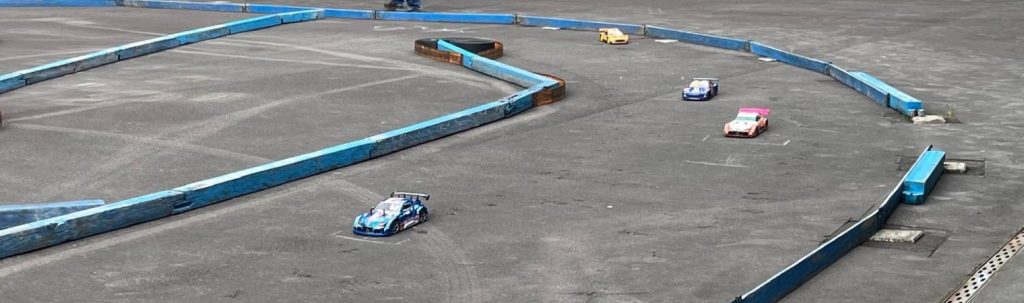
第一コーナーで「手前」でハードクラッシュ。右ナックルとCハブまとめて壊れた。攻めすぎたと思ったらホイールナットが緩んでた。おそらくは整備不良でパーツ壊したのだ。ホイールタイヤはまだ使えそう。ジョイントカップのプロテクターも紛失。
しかし、その場で修理完了。
TS・・・早ツークラスは3分すぎると操縦怪しい。
メモ
ミリ秒【millisecond】msec/ms
時間の単位の一つで、1秒の1000分の1(0.001秒)を表すもの。 1000ミリ秒が1秒に相当する。
コンマからミリセコンドへ


